
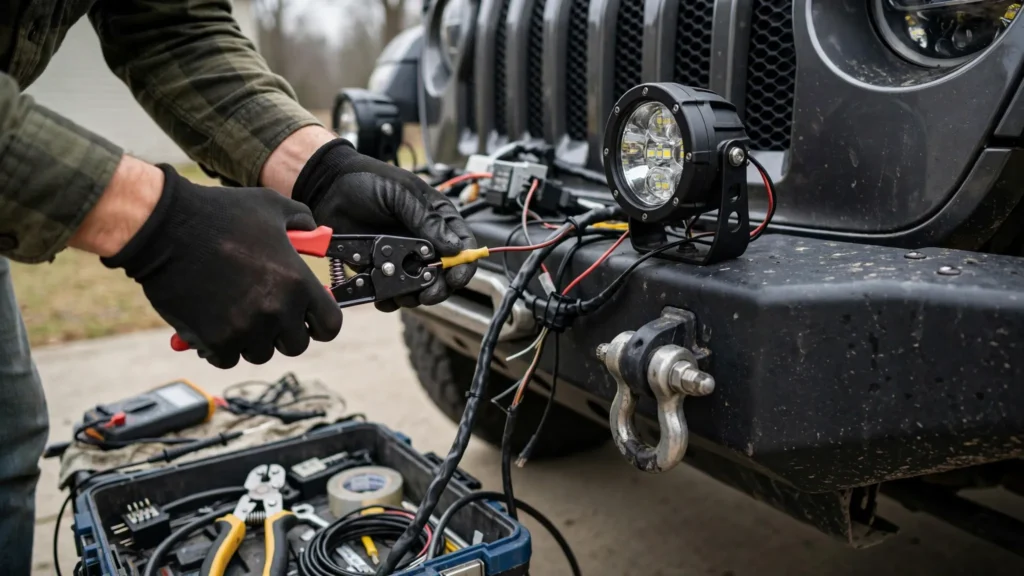
Auxiliary Lights improve visibility in rain, snow, fog, and complete darkness. They also help drivers detect wildlife, road hazards, and obstacles earlier than standard factory lighting. However, even the highest-quality lights perform poorly if they are wired incorrectly. Poor wiring can cause voltage drops, blown fuses, overheated wires, battery drain, or complete lighting failure.
Whether you install LED light bars, driving lights, work lights, or fog lights, understanding the correct wiring process is essential. A proper installation protects your vehicle’s electrical system while delivering maximum light output. Most modern 12-volt vehicle systems use relays, fuses, and dedicated switches to safely power additional lighting without overloading factory circuits.
In this beginner’s guide, we explain how to wire Auxiliary Lights safely and correctly. We also cover the essential components, common mistakes, and expert installation tips. By following proven wiring practices, you can achieve reliable performance, improve safety, and extend the lifespan of your lighting system.
| Wiring Component | Primary Purpose |
|---|---|
| Battery | Supplies electrical power |
| Fuse | Protects against short circuits |
| Relay | Handles high current safely |
| Switch | Controls the light operation |
| Wiring Harness | Connects all electrical components |
| Ground Wire | Completes the electrical circuit |
Why Proper Wiring Matters for Auxiliary Lights
Safe Electrical Performance Starts with Correct Wiring
Correct wiring protects both your lighting system and your vehicle. Most LED Auxiliary Lights draw between 20W and 240W, depending on their size and brightness. Higher-powered lights require thicker wiring to prevent voltage loss and overheating.
Using an automotive relay allows the switch to carry minimal current while the relay manages the heavier electrical load. A fuse installed near the battery provides protection if a short circuit occurs. Without these safety components, excessive current may damage wires or vehicle electronics.
Proper wiring also delivers full battery voltage to the lights. Even a small voltage drop reduces LED brightness noticeably. Professional installers always select the correct wire gauge based on amperage and cable length.
Key benefits include:
- Better light output.
- Improved electrical safety.
- Longer LED lifespan.
- Reduced battery strain.
- Easier troubleshooting.
Essential Components Before Installation
Build a Reliable Wiring System
Before installing Auxiliary Lights, gather all required components. Quality materials improve durability and simplify future maintenance.
A standard installation normally includes:
- LED auxiliary lights.
- Automotive relay (30A or 40A).
- Inline fuse holder.
- Correct fuse rating.
- Waterproof wiring harness.
- Dashboard switch.
- Ring terminals.
- Heat-shrink connectors.
- Split loom tubing.
- Cable ties.
Choose wire size according to electrical load. For example:
| Current Draw | Recommended Wire Gauge |
|---|---|
| Up to 10A | 16 AWG |
| 10A–20A | 14 AWG |
| 20A–30A | 12 AWG |
| Above 30A | 10 AWG |
Automotive electricians recommend using marine-grade copper wiring whenever possible. It offers better corrosion resistance and a longer service life in wet conditions.
Step-by-Step Guide to Wiring Auxiliary Lights
Follow the Correct Installation Order
Start by disconnecting the vehicle’s negative battery terminal. This prevents accidental short circuits during installation.
Mount the Auxiliary Lights securely using manufacturer-approved brackets. Route wiring away from exhaust systems, steering components, and moving suspension parts. Protect exposed wiring with split loom tubing.
Connect the positive battery terminal to an inline fuse. From the fuse, run power into relay terminal 30. Connect relay terminal 87 directly to the auxiliary lights. Relay terminal 85 connects to ground, while terminal 86 connects to the dashboard switch. Supply ignition or battery power to the switch based on your preferred operation.
Finally, ground each light using clean, paint-free metal surfaces. Reconnect the battery and test all functions before securing the wiring permanently.
Professional installers also recommend measuring battery voltage before and after installation. Healthy charging systems usually maintain between 13.5V and 14.7V while the engine runs.
Common Wiring Mistakes to Avoid
Prevent Problems Before They Start
Many beginners experience electrical issues because they skip important safety steps. Fortunately, most problems are easy to avoid.
Common mistakes include:
- Installing no fuse near the battery.
- Using undersized wiring.
- Poor grounding connections.
- Routing wires near hot engine parts.
- Loose electrical connectors.
- Overloading factory switches.
- Ignoring waterproof protection.
Poor grounding remains one of the leading causes of dim Auxiliary Lights. Rust, paint, or corrosion creates electrical resistance that limits current flow. Clean every grounding point thoroughly before installation.
Experienced off-road technicians also recommend dielectric grease on exposed connectors. It reduces moisture intrusion and minimizes long-term corrosion.
Expert Tips for Long-Term Reliability
Keep Your Lighting System Performing
Reliable Auxiliary Lights depend on both quality components and routine inspections. Check wiring every few months, especially after off-road driving or winter weather exposure.
Inspect the fuse, relay, wiring insulation, and mounting hardware regularly. Replace damaged cable ties immediately if wires begin rubbing against metal surfaces.
Experts also recommend these maintenance practices:
- Clean battery terminals twice yearly.
- Tighten all ground connections.
- Inspect relay operation annually.
- Replace cracked wire insulation.
- Wash mud and road salt from connectors.
- Test switch functionality regularly.
A properly installed wiring system often lasts the life of the vehicle with only basic maintenance. Explore our latest insights in Halogen, Xenon, or LED Headlights.
Conclusion
Installing Auxiliary Lights correctly is about more than adding brightness. Proper wiring improves electrical safety, protects expensive components, and ensures dependable performance in every driving condition. Using the correct fuse, relay, wire gauge, and grounding methods reduces failures while maximizing LED efficiency.
Beginners who follow proven wiring practices avoid many common installation problems and enjoy reliable lighting for years. With careful planning, quality materials, and regular inspections, your auxiliary lighting system will deliver consistent visibility whenever the road or trail demands extra illumination.